![IN CRATE ENGINES..png]](https://knowledgebase.blueprintengines.com/hs-fs/hubfs/IN%20CRATE%20ENGINES..png?height=40&name=IN%20CRATE%20ENGINES..png)
Step 1 - Install Starter
Install the starter onto the engine using the supplied mounting block and proper Chevy starter bolts.
Step 2 - Check Clearance
Verify clearance between the starter and:
- Headers
- Oil pan
- Frame
- Suspension components
If needed, rotate (clock) the starter housing for additional clearance.
Step 3 - Wire The Starter
Large Solenoid Terminal
- Connect battery positive cable.
Small Solenoid Terminal
- Connect ignition switch "START" wire.
Verify all connections are clean and tight.
Step 4 - Check Ring Gear Engagement
Crank the engine and listen for:
- Smooth engagement
- No grinding
- No binding
The starter gear should engage and disengage cleanly.
Step 5 - Shim If Necessary
If grinding or binding occurs, install starter shims between the starter and block until proper engagement is achieved. Shimming is common with these starters.
Step 6 - Final Inspection
Verify:
- Starter bolts are tight
- Wiring is secure
- Adequate clearance around starter
- Engine cranks normally
Common Corrections
Grinding During Cranking
- Add shim(s).
Starter Hits Headers
Starter Spins But Won't Crank Engine
- Verify wiring and starter engagement.
Flywheel Note
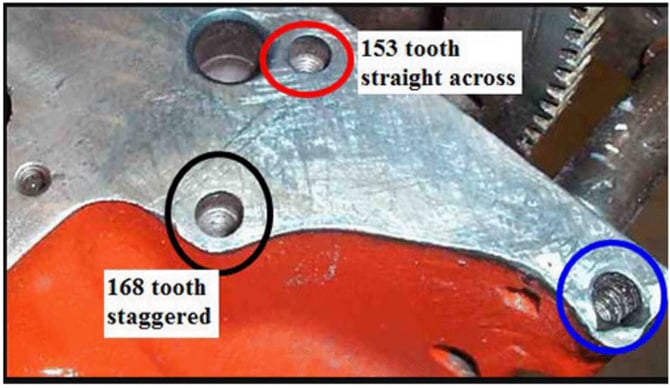
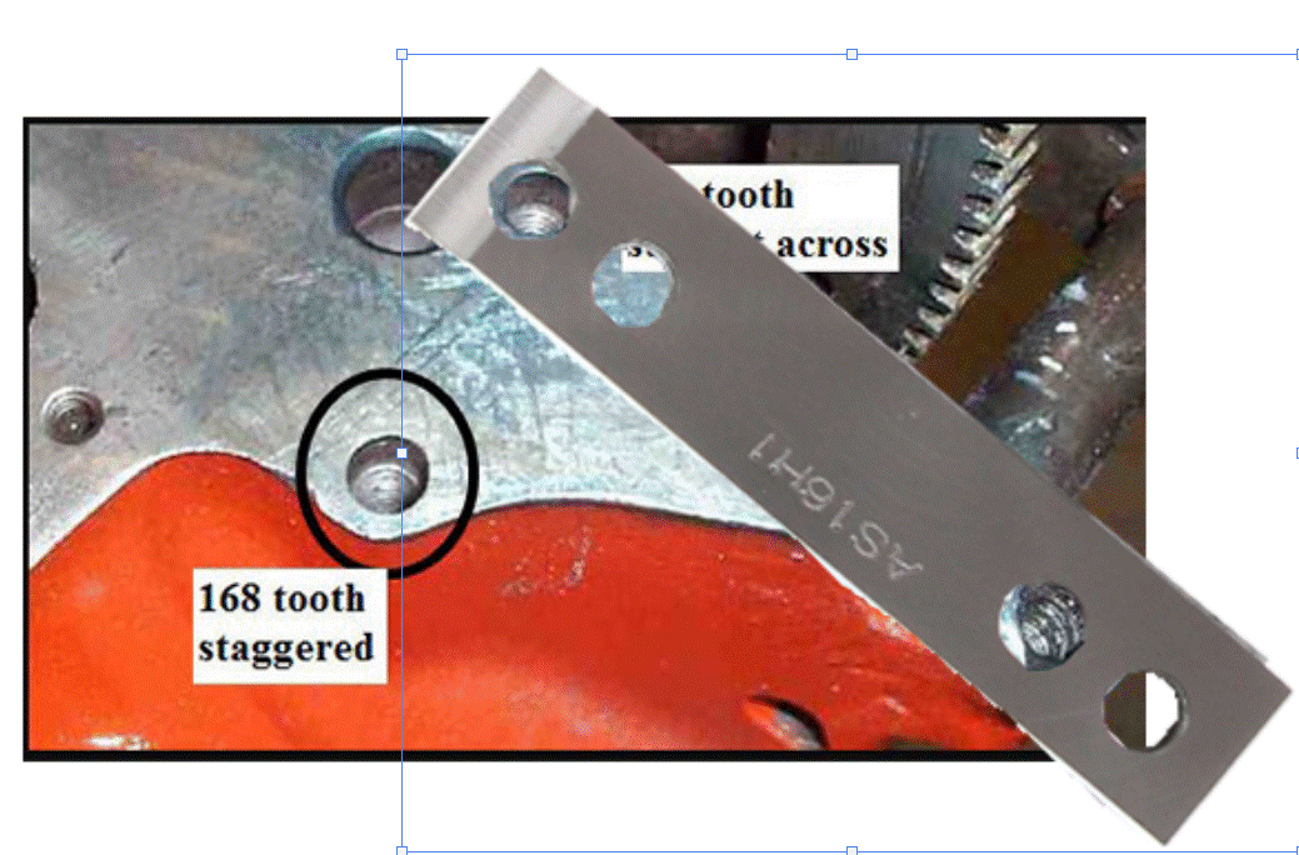
168-Tooth Flywheel/Flexplate
- Use the standard straight mounting hole and the 35° offset (staggered) mounting hole.
153-Tooth Flywheel/Flexplate
- Use the straight-across mounting hole pattern (both mounting bolts parallel to each other).